In today’s streaming landscape, IPTV services have become increasingly popular for accessing a wide range of television content. Among the various IPTV Windows players available, TiviMate IPTV player stands out as a fan favorite due to its sleek interface, robust features, and user-friendly navigation. However, many Windows 11 users face a common challenge: how to install TiviMate IPTV player on Windows 11, since it’s primarily designed for Android devices.
If you’ve been searching for ways to install TiviMate IPTV player on Windows 11, you’re in the right place. This comprehensive guide will walk you through the most effective methods to get TiviMate running on your Windows 11 system, along with alternatives if those methods don’t work for your specific setup. Whether you’re new to IPTV or a seasoned streamer looking to optimize your viewing experience with TiviMate premium features, we’ve got you covered with step-by-step instructions, troubleshooting tips, and expert advice.
Table of Contents
Why Choose TiviMate IPTV Player for Windows 11?
Before diving into the installation methods, it’s worth understanding why many users want to install TiviMate IPTV player on Windows 11 despite its Android origins. As one of the most popular IPTV Windows players available, TiviMate offers several advantages that make it worth the extra effort:
- Intuitive and customizable interface
- Smooth channel navigation
- Advanced EPG (Electronic Program Guide) features
- Multi-screen viewing capabilities
- Recording functionality (TiviMate premium version)
- Excellent playlist management
These features make TiviMate IPTV player one of the most sought-after solutions, driving Windows 11 users to seek installation methods despite the platform differences.

Is Native TiviMate IPTV Player on Windows 11 Possible?
Let’s address the elephant in the room right away: TiviMate IPTV player is designed primarily for Android devices (Android TVs, set-top boxes, etc.) and does not have a native Windows version. The developer has focused exclusively on creating an optimal experience for Android platforms, with no official plans to release a Windows-compatible version.
This Android exclusivity stems from both technical and strategic reasons. TiviMate leverages specific Android APIs and frameworks that don’t have direct equivalents in Windows. Additionally, the developer has chosen to focus resources on perfecting the Android experience rather than splitting efforts across multiple platforms.
But don’t worry—this doesn’t mean Windows 11 users are left out in the cold. There are several viable workarounds that can bring the TiviMate IPTV player experience to your PC, with the most effective being the use of Android emulators. Let’s explore how to make this happen.
Methods to Install TiviMate IPTV Player on Windows 11
There are two primary approaches to get TiviMate working on Windows 11:
- Using an Android emulator to run the TiviMate APK (recommended)
- Using alternative IPTV Windows players designed specifically for Windows
Let’s examine each method in detail.
Method 1: Install TiviMate IPTV Player on Windows 11 Using an Android Emulator
Android emulators create a virtual Android environment on your Windows PC, essentially allowing your computer to run Android apps as if it were an Android device. This is currently the best method for installing TiviMate IPTV player on Windows 11.
Choosing the Right Emulator for TiviMate on Windows 11
Several Android emulators are available, each with its own strengths and weaknesses. For running TiviMate IPTV player on Windows 11, these are the top contenders:
BlueStacks — The most popular Android emulator with excellent compatibility and performance. It’s user-friendly and regularly updated.
- Pros: Easy setup, good performance, frequent updates
- Cons: Can be resource-intensive on older systems
NoxPlayer — A lightweight emulator that performs well even on less powerful computers.
- Pros: Less resource-intensive, good stability
- Cons: Slightly more complex interface
MEmu Play — Offers excellent gaming performance which translates to smooth video playback.
- Pros: Great performance, keyboard mapping features
- Cons: Occasional compatibility issues
LDPlayer — Optimized for performance and lower system requirements.
- Pros: Good balance of performance and resource usage
- Cons: Less mainstream, fewer online guides
Based on our testing specifically with the TiviMate APK, BlueStacks offers the most reliable and user-friendly experience, particularly for those looking to install TiviMate IPTV player on Windows 11 systems. Its intuitive interface and regular updates make it ideal for running TiviMate without significant technical knowledge.
Step-by-Step Guide to Install TiviMate IPTV Player on Windows 11 via BlueStacks
Follow these detailed instructions to get TiviMate up and running on your Windows 11 PC:
1. Download and Install BlueStacks
- Visit the BlueStacks official website
- Click on the “Download BlueStacks” button
- Once downloaded, run the installer file
- Follow the installation wizard, accepting the license agreement and selecting your installation location
- Allow the installation to complete (this may take several minutes)
- When prompted, sign in with your Google account

2. Configure BlueStacks for Optimal TiviMate IPTV Player Performance on Windows 11
For the best TiviMate experience, adjust these settings:
- Launch BlueStacks
- Click on the Settings icon (gear symbol) in the side menu
- Navigate to “Performance” settings
- Adjust the following:
- CPU allocation: Allocate at least 4 cores (if available)
- Memory allocation: Set to at least 4GB (if your system has 8GB or more)
- Graphics rendering: Set to “Performance” mode
- Graphics engine mode: “Compatible” if you experience issues, otherwise use “Performance”
- Under “Display,” set:
- Resolution: 1920×1080 or higher
- DPI: 240 or higher (for better UI visibility)
- Save your settings and restart BlueStacks

3. Getting the TiviMate APK and Installing it on Windows 11
There are two methods to install TiviMate IPTV player:
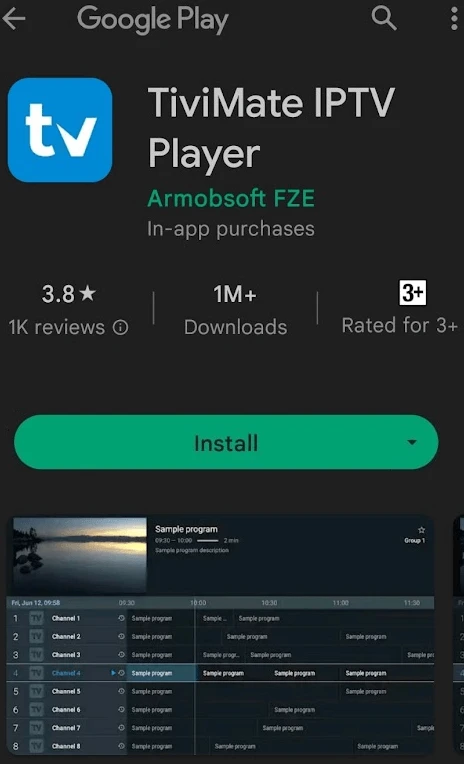
Method A: Via Google Play Store (Easiest)
- Open BlueStacks and access the Google Play Store
- Search for “TiviMate IPTV Player”
- Click “Install” and wait for the installation to complete
- Once installed, TiviMate will appear in your BlueStacks app library

Method B: Using TiviMate APK File (If Google Play method doesn’t work)
- Visit a trusted APK provider like APKPure or APKMirror
- Search for “TiviMate APK” and download the latest version
- In BlueStacks, click on the “Install APK” option (usually in the side menu)
- Browse to your downloaded TiviMate APK file and select it
- Wait for the installation to complete
4. Granting Necessary Permissions After Installing TiviMate on Windows 11
- Launch TiviMate IPTV player from your BlueStacks app library
- When prompted, grant all requested permissions
- These typically include storage access and network permissions
- If using TiviMate premium features, you’ll need to allow in-app purchases
Upgrading to TiviMate Premium on Windows 11
To unlock all features of TiviMate IPTV player on Windows 11:
- Open TiviMate in BlueStacks
- Go to Settings > General > About
- Select “Unlock Premium”
- Choose your subscription plan (monthly or yearly)
- Complete the payment through Google Play Store
- Restart TiviMate to activate premium features

TiviMate premium provides additional benefits like:
- Recording capability
- Multiple playlists
- Custom EPG sources
- Multi-screen view
- Advanced customization options
Troubleshooting Common Issues When Installing TiviMate IPTV Player on Windows 11
Even with the best setup, you might encounter some issues:
Problem: BlueStacks runs slowly or lags
- Solution: Lower the resolution in BlueStacks settings
- Close other resource-intensive applications
- Ensure your PC meets the minimum requirements (4GB RAM, dual-core processor)
Problem: Google Play Store not working
- Solution: Clear Google Play Store cache in BlueStacks settings
- Verify your Google account is properly connected
- Try installing the TiviMate APK file directly instead
Problem: TiviMate crashes when opening
- Solution: Update BlueStacks to the latest version
- Try a clean reinstall of TiviMate IPTV player
- Verify your Android emulator is set to a compatible Android version (Android 7.0+ recommended)
Problem: No audio during playback
- Solution: Check BlueStacks audio settings
- Ensure your system’s audio drivers are updated
- Verify the IPTV stream itself has audio
Method 2: Best IPTV Windows Player Alternatives to TiviMate
While the emulator method works for most users, it may not be ideal if your PC has limited resources or if you prefer a more native Windows experience. In such cases, several excellent native IPTV Windows players can serve as alternatives when you can’t install TiviMate IPTV player on Windows 11 directly:
Top IPTV Windows Player Options for Windows 11
MyIPTV Player
A dedicated IPTV Windows player application with a clean, minimal interface.
Key Features:
- Native Windows 11 support
- Low resource usage
- Support for multiple playlists
- EPG integration
- Channel categories and favorites
Pros: Fast performance, simple interface, regular updates Cons: Fewer customization options than TiviMate IPTV player
ProgTV
A powerful multi-platform IPTV Windows player with robust Windows support.
Key Features:
- Advanced playback controls
- Picture-in-picture mode
- Recording capabilities
- Extensive EPG functionality
- Highly customizable interface
Pros: Feature-rich, great stability, good for power users Cons: Steeper learning curve, interface not as polished as TiviMate
IPTV Smarters Pro for Windows

A popular IPTV Windows player solution that offers a Windows-native client.
Key Features:
- Multi-screen support
- Catch-up TV functionality
- VOD support
- Group-based channel organization
- Search functionality
Pros: User-friendly interface, similar feel to mobile apps Cons: Some features require premium subscription
Setting Up TiviMate IPTV Player After Installation on Windows 11
Once you’ve successfully installed TiviMate IPTV player on Windows 11 via an emulator (or chosen an alternative IPTV Windows player), you’ll need to configure it with your IPTV service. Here’s a comprehensive setup guide:
Adding an IPTV Playlist to TiviMate on Windows 11
- Launch TiviMate IPTV player on your Windows 11 (via BlueStacks)
- Go to “Settings” (gear icon)
- Select “Playlists”
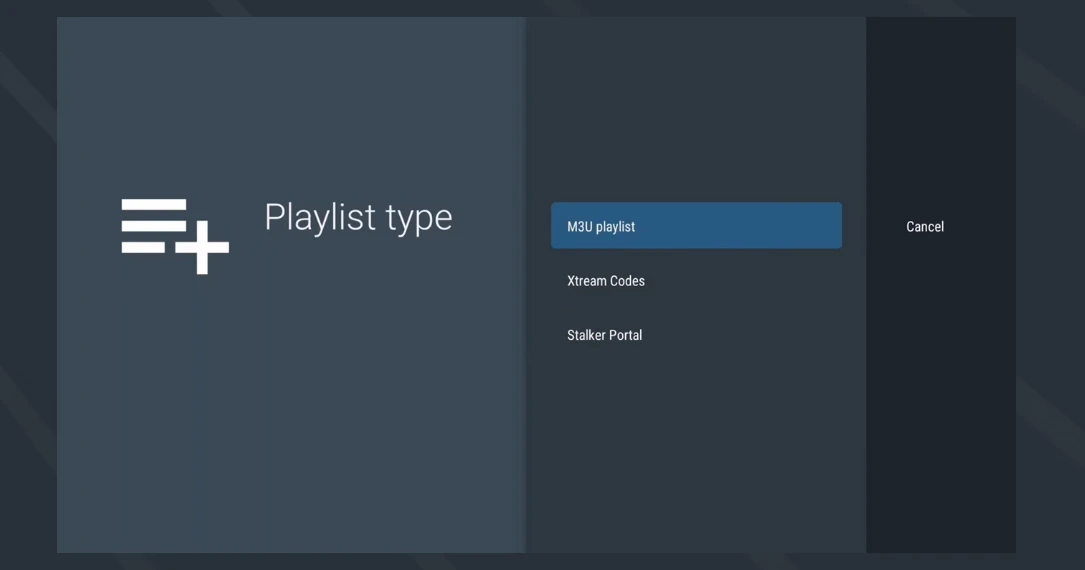
- Choose “Add playlist”
- Select “M3U URL” (most common method)
- Enter the M3U URL provided by your IPTV service
- Name your playlist
- Click “Add”

Adding EPG (Electronic Program Guide) to TiviMate on Windows 11
- Go to “Settings” again
- Select “EPG”
- Choose “Sources”
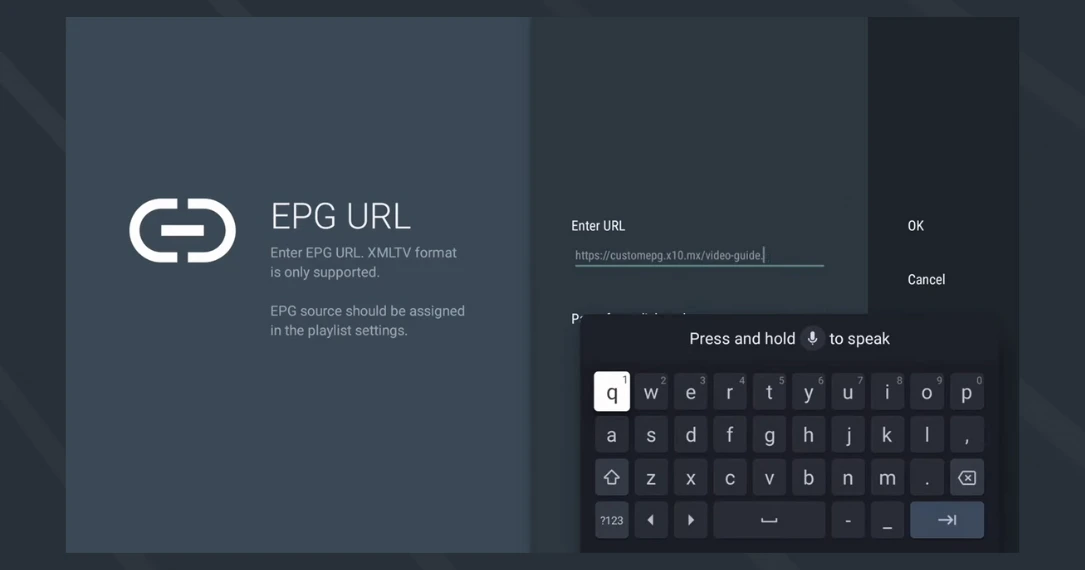
- Select “Add source”
- Enter the EPG URL provided by your IPTV service
- Click “Add”

Customizing Your Channel List in TiviMate IPTV Player on Windows 11
- From the main interface, access the channel list
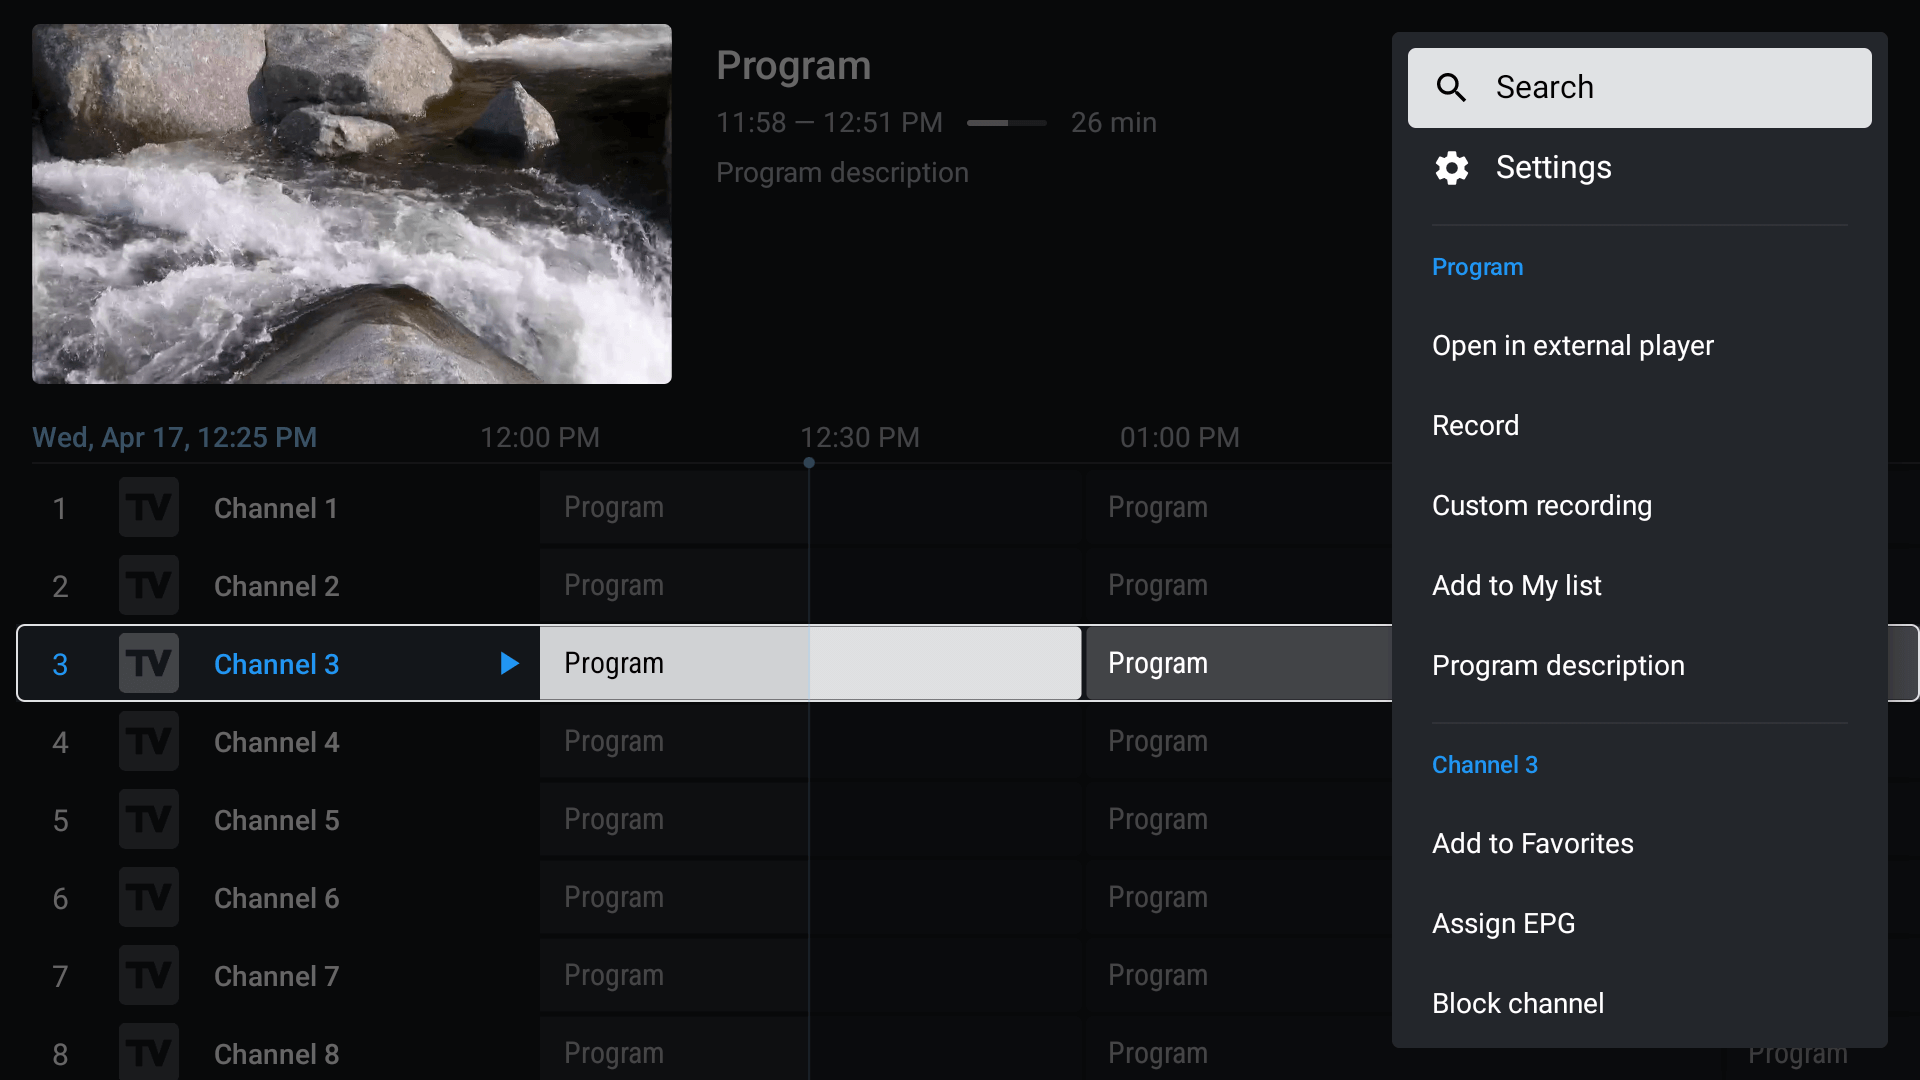
- Long-press or right-click on any channel to bring up options
- Use the “Move” function to rearrange channels
- Create favorites by selecting “Add to favorites”
- Hide unwanted channels by selecting “Hide channel”
- Create custom groups by selecting “Create group” and adding channels
Configuring Catch-up/Archive Settings in TiviMate IPTV Player
If your IPTV service offers catch-up functionality:
- Go to “Settings”
- Select “Playlists”
- Choose your playlist
- Navigate to “Catch-up TV”
- Enable “Use catch-up” option
- Adjust the time frame as needed (typically 24-72 hours)
Advanced TiviMate Premium Features on Windows 11
Take advantage of these powerful TiviMate premium features after you install TiviMate IPTV player on Windows 11:
Recording (TiviMate premium feature):
- Go to “Settings”
- Select “Recordings”
- Set your preferred storage location
- Return to a channel and long-press to find the “Record” option
Multi-view (TiviMate premium feature):
- While watching a channel, press the menu button
- Select “Multi-view”
- Choose how many streams to display (2×2, 3×3, etc.)
- Select channels for each position
Interface Customization:
- Go to “Settings”
- Select “Appearance”
- Adjust themes, colors, transparency, and layout options

Optimizing Windows 11 for TiviMate IPTV Player Streaming
To ensure the smoothest possible experience after you install TiviMate IPTV player on Windows 11, implement these optimization tips:
System Optimization for TiviMate IPTV Player on Windows 11
Close Unnecessary Applications:
- Use Task Manager (Ctrl+Shift+Esc) to identify and close resource-intensive applications
- Disable startup applications via Task Manager > Startup tab
Update Graphics Drivers:
- Right-click on Start > Device Manager
- Expand “Display adapters”
- Right-click your graphics card and select “Update driver”
- Consider using the manufacturer’s dedicated software (NVIDIA GeForce Experience, AMD Radeon Software)
Power Settings:
- Search for “Power plan” in the Start menu
- Select “High performance” or “Ultimate performance”
- Disable sleep/hibernation during streaming
Network Optimization for IPTV Windows Player Performance
Wired Connection:
- Use an Ethernet cable instead of Wi-Fi whenever possible
- Position your router closer to your PC if wired isn’t an option
Network Settings:
- Update your network adapter drivers
- Consider setting a static IP for your streaming device
- Prioritize streaming traffic in your router’s QoS settings (if available)
Internet Speed:
- Verify your connection meets minimum requirements (10Mbps for HD, 25Mbps for 4K)
- Run a speed test at speedtest.net
- Contact your ISP if speeds are consistently below your plan’s advertised rate
BlueStacks Optimization for TiviMate APK on Windows 11
Dedicated GPU:
- Ensure BlueStacks uses your dedicated GPU rather than integrated graphics
- In NVIDIA Control Panel or AMD Radeon Settings, set BlueStacks to use your high-performance GPU
Virtual Machine Platform:
- Enable “Virtual Machine Platform” in Windows Features
- Search “Windows Features” in Start menu
- Check “Virtual Machine Platform” and “Windows Hypervisor Platform”
Virtualization Technology:
- Enable VT-x/AMD-V in your BIOS settings
- Access BIOS during startup (typically F2, F10, or Delete key)
- Find and enable “Virtualization Technology” or similar option
Troubleshooting TiviMate IPTV Player After Installation on Windows 11
Even with the perfect setup after you install TiviMate IPTV player on Windows 11, you might encounter streaming issues. Here’s how to resolve the most common problems:
Buffering and Lag in TiviMate IPTV Player on Windows 11
Symptoms: Playback frequently pauses, loading icon appears often
Solutions:
- Lower the playback quality in TiviMate settings
- Close background applications consuming bandwidth
- Try a different server from your IPTV provider (if available)
- Restart your router and modem
- Consider a VPN service if your ISP is throttling streaming traffic
No Audio or Video in TiviMate IPTV Player on Windows 11
Symptoms: Stream plays but with no sound, or screen remains black with audio only
Solutions:
- Try multiple channels to isolate if it’s a channel-specific issue
- Check your device’s audio settings and ensure it’s not muted
- In TiviMate, try changing the “HW acceleration” setting
- Restart the application and/or emulator
- Update BlueStacks to the latest version
Channel List Not Loading in TiviMate on Windows 11
Symptoms: Empty channel list or “unable to load playlist” error
Solutions:
- Verify your M3U URL is correct and up-to-date
- Check your internet connection
- Ensure your IPTV subscription is active
- Try adding the playlist again
- Contact your IPTV provider to verify server status
EPG Not Updating in TiviMate IPTV Player on Windows 11
Symptoms: Program guide shows “No information” or outdated information
Solutions:
- Manually refresh EPG (Settings > EPG > Update)
- Verify your EPG URL is correct
- Check if your provider’s EPG service is functioning
- Set automatic EPG updates (Settings > EPG > Update frequency)
- Try an alternative EPG source if available
TiviMate APK Crashing or Freezing on Windows 11
Symptoms: Application closes unexpectedly or becomes unresponsive
Solutions:
- Update TiviMate APK to the latest version
- Clear the app cache (in BlueStacks settings)
- Allocate more resources to BlueStacks
- Reinstall TiviMate IPTV player
- Try a different Android emulator
The recordings will be stored within the BlueStacks virtual environment by default, but you can configure BlueStacks to use a specific folder on your Windows system.
Conclusion: Best Practices for Using TiviMate IPTV Player on Windows 11
While TiviMate doesn’t offer a native Windows 11 application, using an Android emulator like BlueStacks provides an excellent workaround to install TiviMate IPTV player on Windows 11 that delivers nearly the same premium experience many Android users enjoy. The combination of TiviMate’s feature-rich interface with Windows 11’s performance capabilities creates a powerful IPTV viewing platform.
For those who prefer or require a native solution, alternative IPTV Windows players like MyIPTV Player, ProgTV, and IPTV Smarters Pro offer compelling Windows-native options that might better suit your specific needs.
Whichever method you choose, following the optimization and troubleshooting tips in this guide will help ensure you get the best possible streaming experience on your Windows 11 system. The world of IPTV offers incredible content possibilities, and with the right setup, your Windows 11 PC can become your ultimate entertainment hub.
Have you tried to install TiviMate IPTV player on Windows 11? Share your experience in the comments below, or ask any questions if you need further assistance with your setup!
Frequently Asked Questions About TiviMate IPTV Player on Windows 11
Absolutely. TiviMate premium offers significant advantages over the free version, especially when running on Windows 11. For just $4.99/year, TiviMate premium unlocks recording capabilities, multi-screen viewing, custom EPG sources, and advanced customization options. When you install TiviMate IPTV player on Windows 11 through an emulator, these premium features work just as well as they do on Android devices, making it a worthwhile investment for regular IPTV users.
To update TiviMate APK on Windows 11:
If installed via Google Play Store in BlueStacks, open the Play Store and check for updates
If installed via APK, download the latest TiviMate APK file from a reputable source
In BlueStacks, click the "Install APK" option and select the new version
The application will update while preserving your settings and playlists
Is IPTV legal when using TiviMate IPTV player on Windows 11?
IPTV technology itself is legal, and there are many legitimate IPTV services providing licensed content. However, some IPTV services may offer unauthorized access to copyrighted content, which is illegal in most jurisdictions. Always ensure you're using a legitimate IPTV service that has proper licensing agreements for the content it provides.
When choosing an IPTV provider for your TiviMate IPTV player or alternative IPTV Windows player, consider these factors:
Content selection matching your preferences
Stream reliability and quality
Responsive customer support
Fair pricing structure
Legal compliance and licensing
Trial period availability
Buffering can occur due to:
Insufficient internet speed
Server issues from your IPTV provider
Home network congestion
ISP throttling
Hardware limitations
Too many simultaneous connections
Start troubleshooting by checking your internet speed, reducing the number of connected devices, and trying different servers if your provider offers them.
Yes, TiviMate premium allows recording of live TV. When running through BlueStacks after you install TiviMate IPTV player on Windows 11:
Purchase TiviMate premium
Configure a storage location in TiviMate settings
Long-press on a channel and select "Record"

